[Mac OSX]Error: The `brew link` step did not complete successfully
2014年8月18日 12:04
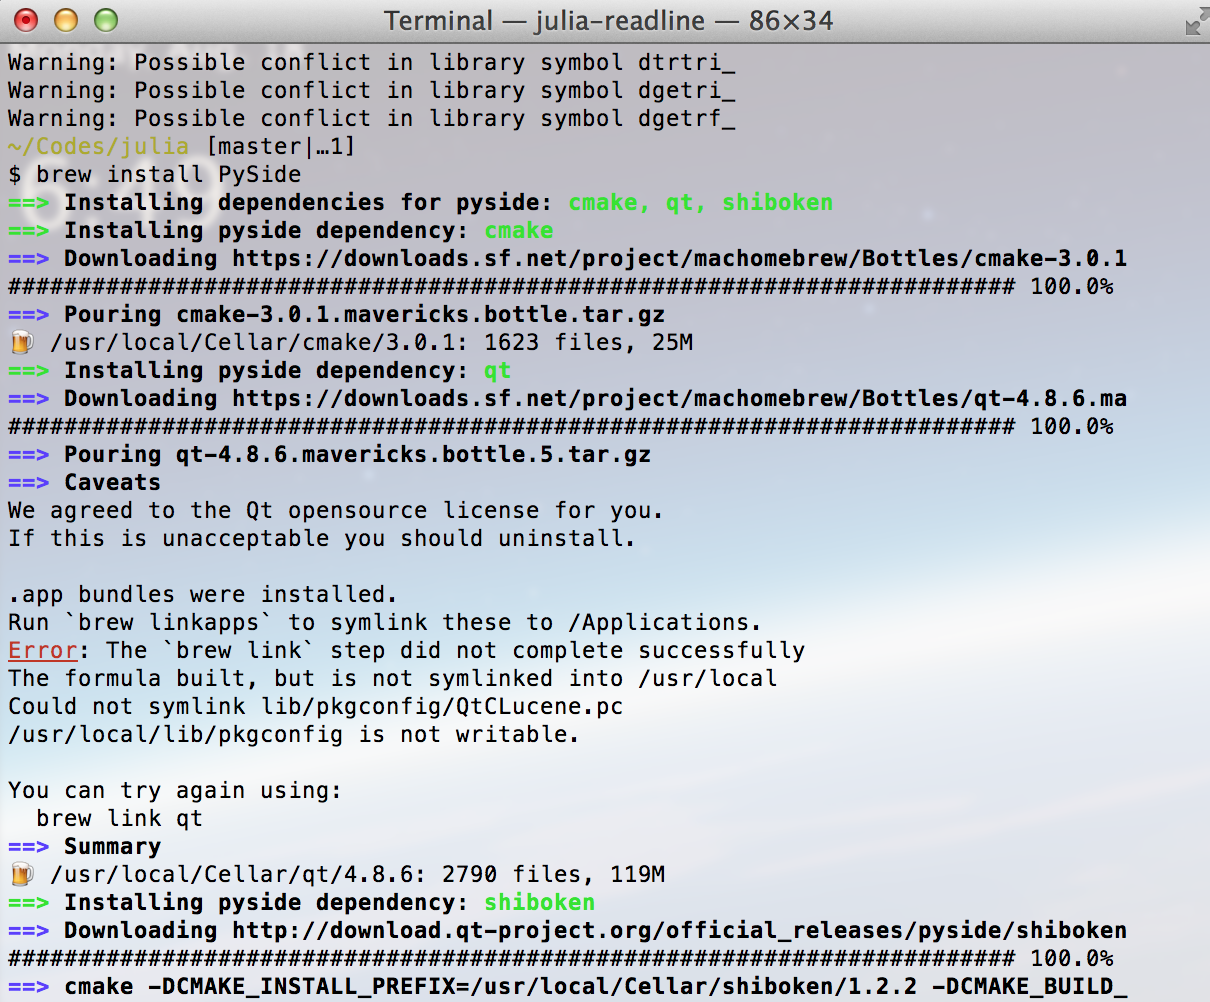
When I use brew to install PySide for Julia's PyPlot package, there is an error saying "The `brew link` step did not complete successfully" (see figure below)

When I use brew to install PySide for Julia's PyPlot package, there is an error saying "The `brew link` step did not complete successfully" (see figure below)

First install Homebrew using command: [1]
1 | ruby -e "$(curl -fsSL https://raw.github.com/mxcl/homebrew/go)" |
Then using brew to install gdb using command: [2]
1 | brew install https://raw.github.com/Homebrew/homebrew-dupes/master/gdb.rb |
[1]http://brew.sh/index_zh-cn.html
[2] http://stackoverflow.com/questions/8336433/gdb-on-macosx-lion
Create a ~/.bash_profile and enable colors using:
1 2 3 4 5 6 | export PS1="\[\033[36m\]\u\[\033[m\]@\[\033[32m\]\h:\[\033[33;1m\]\w\[\033[m\]\$"export CLICOLOR=1# light theme, white backgroundexport LSCOLORS=ExFxBxDxCxegedabagacadalias ls='ls -GFh' |
In the ~/ folder, create subfolder .bash and drop gitprompt.sh and gitstatus.py files there (bash.zip)
In the ~/.bash_profile file, add ``source ~/.bash/gitprompt.s'' so the file becomes:
1 2 3 4 5 6 7 8 9 | export PS1="\[\033[36m\]\u\[\033[m\]@\[\033[32m\]\h:\[\033[33;1m\]\w\[\033[m\]\$"export CLICOLOR=1# light theme, white backgroundexport LSCOLORS=ExFxBxDxCxegedabagacadalias ls='ls -GFh'#enable git bash promptsource ~/.bash/gitprompt.sh |
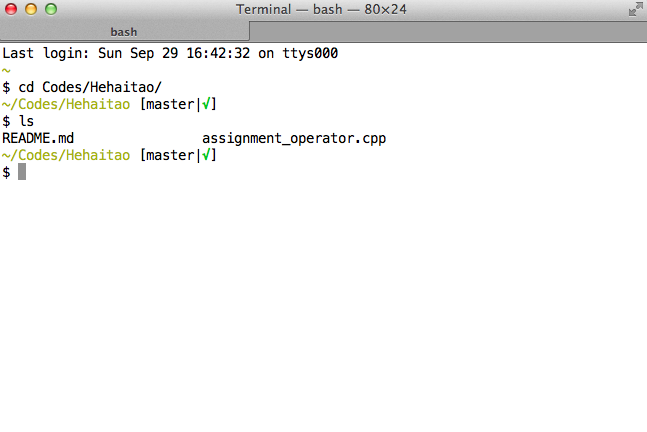
Restart terminal, and see the new look :

References
1 2 3 | sudo launchctl load -w /System/Library/LaunchDaemons/com.apple.locate.plistsudo /usr/libexec/locate.updatedb |
http://www.pansenti.com/wordpress/?page_id=701
Overview
Syntro has been tested on Mac OS X 10.7.3, but will probably work fine with other versions as long as the dependencies are met.
Syntro relies on Xcode, Qt, pkg-config and optionally OpenCV for some of the demo apps.
Xcode provides the compiler suite and Git for source control.
We are using pkg-config and OpenCV from the MacPorts project.
Syntro has been tested with the Xcode 4.2.x tools, but the example will use the latest.
Download Xcode 4.3.2 for Lion from the Apple App store.
The file will be called xcode_432_lion.dmg.
Install it by dragging it to the Applications folder.
Start Xcode and select the Xcode | Preferences… menu.
In the dialog that appears, go to the Downloads tab and install the Command Line Tools
Verify the compiler and git are installed and work from the command line
1 2 3 4 5 6 7 8 | $ g++ --versioni686-apple-darwin11-llvm-g++-4.2 (GCC) 4.2.1 (Based on Apple Inc. build 5658) (LLVM build 2336.9.00)Copyright (C) 2007 Free Software Foundation, Inc.This is free software; see the source for copying conditions. There is NOwarranty; not even for MERCHANTABILITY or FITNESS FOR A PARTICULAR PURPOSE.$ git --versiongit version 1.7.7.5 (Apple Git-26) |
Follow the instructions from the MacPorts guide.
We use the Mac OS X Package Install method.
Update MacPorts and install OpenCV
1 2 | $ sudo port selfupdate$ sudo port install opencv pkgconfig |
OpenCV will be installed in /opt/local directories.
You can check that both pkg-config and opencv are setup correctly this way
1 2 3 4 5 | $ pkg-config opencv --cflags-I/opt/local/include/opencv -I/opt/local/include$ pkg-config opencv --libs-L/opt/local/lib -lopencv_core -lopencv_imgproc -lopencv_highgui -lopencv_ml -lopencv_video -lopencv_features2d -lopencv_calib3d -lopencv_objdetect -lopencv_contrib -lopencv_legacy -lopencv_flann |
You may have to add /opt/local/bin to your PATH to find MacPorts binaries.
Syntro requires Qt 4.7 or greater.
Download >qt-mac-opensource-4.8.1.dmg from http://qt.nokia.com/downloads/qt-for-open-source-cpp-development-on-mac-os-x
Install Qt by first opening the dmg file with >DiskImageMounter or by double-clicking if you have that enabled. When the new folder opens with the contents of the dmg, there will be aQt.mkpkg file. Open this with Installer or again by double-clicking. This will launch the Qt install program.
Accept the defaults and Qt will be installed under /Library/Frameworks
The Syntro .pro files require the macx-g++ build specs rather then the default macx-xcodespecs.
If you understand what this means and require macx-xcode for other Qt projects, then you probably know how to customize the behavior, either by using a -spec argument to qmake or with the QMAKESPEC environment variable.
The following instructions will change the default for all Qt qmake usage.
1 2 3 4 5 6 7 8 9 10 11 | $ cd /usr/local/Qt4.8/mkspecs/usr/local/Qt4.8/mkspecs$ ls -l defaultlrwxr-xr-x 1 504 wheel 10 Apr 10 10:04 default -> macx-xcode/usr/local/Qt4.8/mkspecs$ sudo rm default/usr/local/Qt4.8/mkspecs$ sudo ln -s macx-g++ default/usr/local/Qt4.8/mkspecs$ cd ~$ qmake --versionQMake version 2.01aUsing Qt version 4.8.1 in /Library/Frameworks |
Qt provides a cross-platform IDE for application development.
All of the Syntro applications can be built from a Terminal shell or a remote SSH shell so installing Qt Creator is optional.
If you plan on developing custom Syntro applications on the Mac, then you probably want to install Qt Creator.
Download >http://qt.nokia.com/downloads/qt-creator-binary-for-mac.
Install QtCreator by double-clicking the dmg file. A new folder will open with two items, a Qt Creator icon and an Applications icon. Drag the Qt Creator icon over to the Applications icon. This will launch the installer. Follow the instructions for a default install. Qt Creator will now be available in vertical-align: baseline; Launchpad.
Your Mac system is now ready for Building Syntro on Mac OS X.